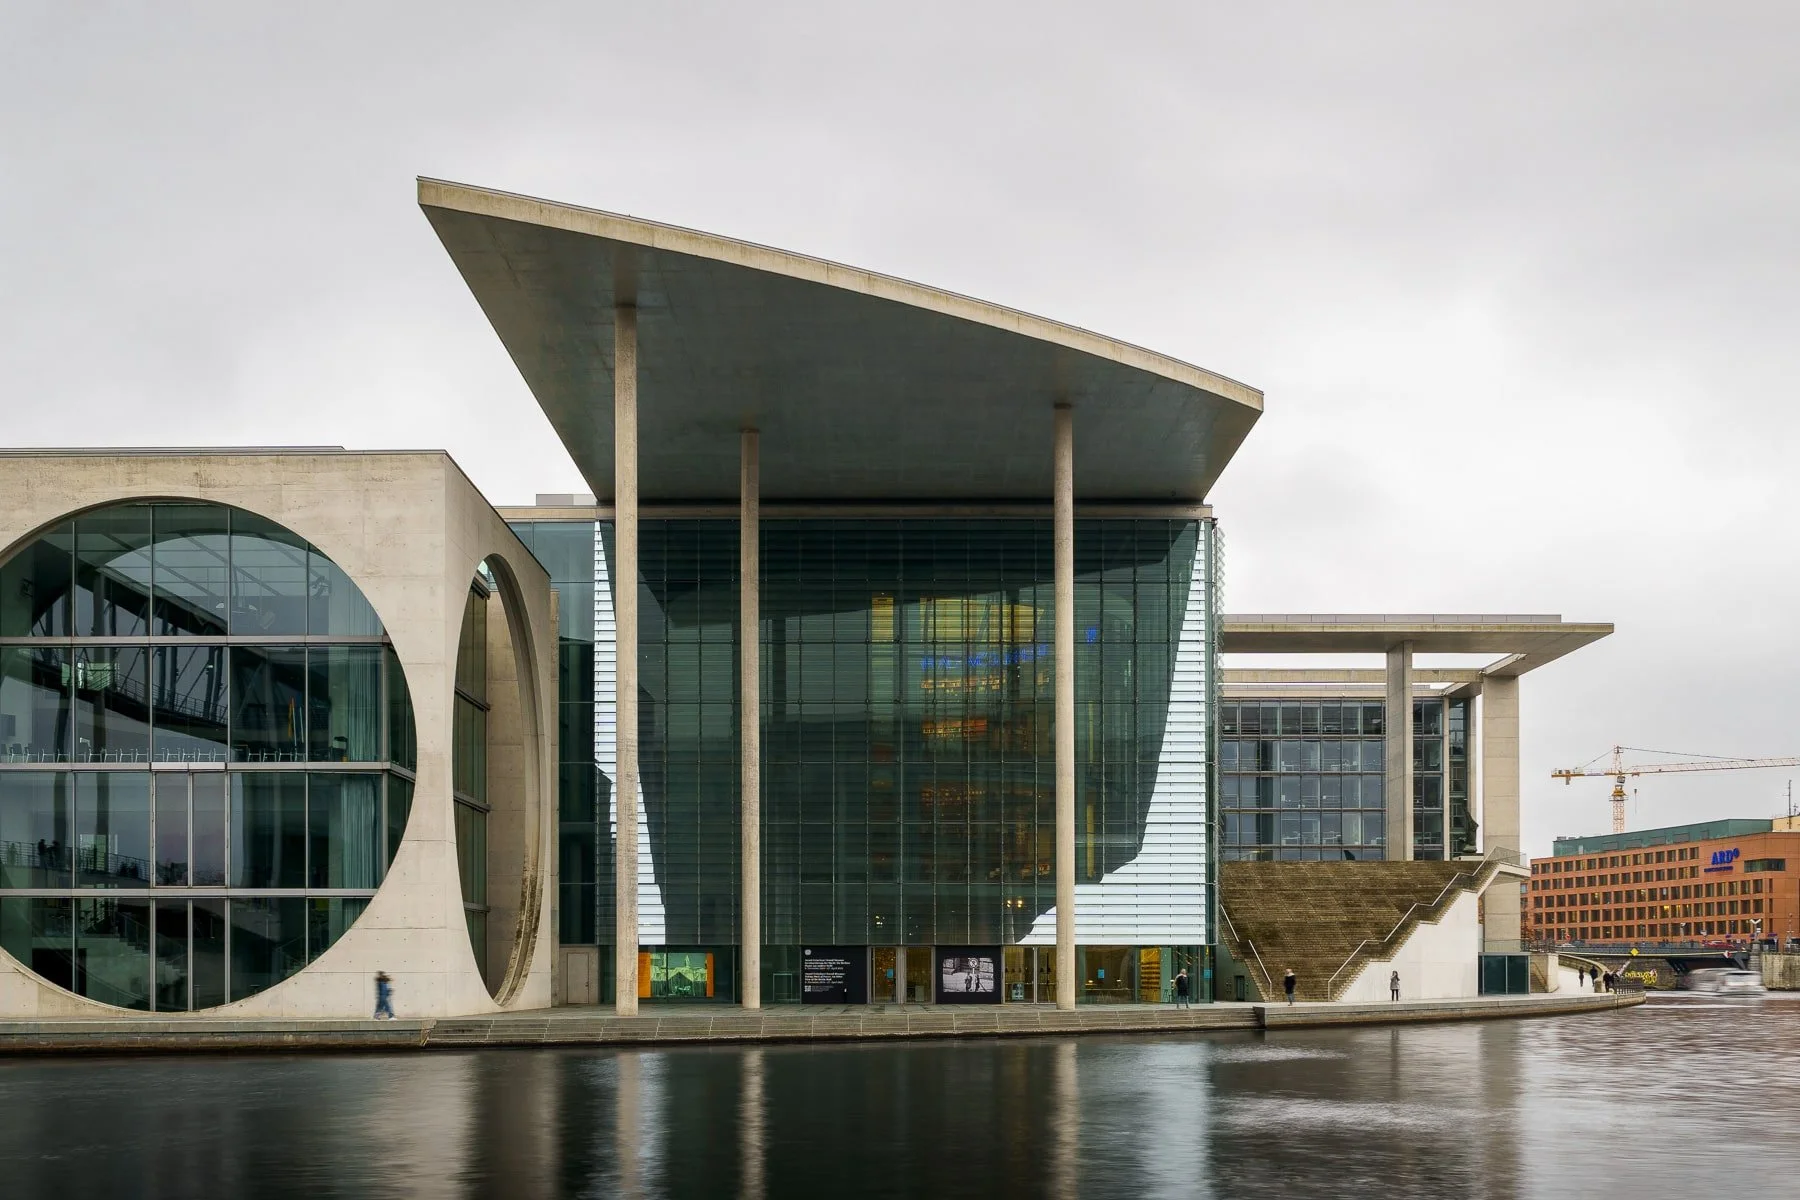
Preparing Your Project for an Architectural Photo Shoot
Professional architectural photography can elevate your project’s presentation, making it stand out in portfolios, marketing materials, and online listings. To get the most out of your photo shoot, preparation is key. By following these actionable steps, you can ensure that your space is captured in the best possible light, showcasing its design and functionality.
1. Define Your Goals and Vision for Your Architectural Photography
Before scheduling a shoot, clarify what you want to achieve with your architectural photography. Understanding your goals will help guide the photographer in capturing the right angles, details, and mood.
What to do:
Identify key architectural features and focal points to highlight.
Determine the purpose of the images (e.g., marketing brochures, portfolio, online listings).
Share mood boards or inspiration images with your photographer.
Consider specific shots needed for your target audience (e.g., potential buyers, investors).
2. Scheduling Your Architectural Photo Shoot: Best Times for Optimal Lighting
Lighting plays a crucial role in architectural photography. Selecting the right time of day can dramatically enhance the aesthetics of your images.
What to consider:
Golden hour (early morning or late afternoon) for warm, natural light.
Midday for even lighting in shaded areas.
Twilight for dramatic exterior shots with interior lighting.
Consider the direction of sunlight relative to your building.
3. Staging Your Project for Professional Photos
A well-prepared space looks polished and professional in photos. Staging enhances the composition, making the images more visually appealing.
What to do:
Remove unnecessary clutter and personal items.
Arrange furniture to create balanced and inviting compositions.
Add decorative elements like fresh flowers, artwork, or books to enhance the space.
Ensure all lighting fixtures work properly and are clean.
Consider hiring a professional stager for optimal results.
4. Meticulous Cleaning: Ensuring Every Detail Shines
Every imperfection is magnified in high-resolution images, so a spotless environment is essential for architectural photography.
What to do:
Clean windows, floors, and surfaces thoroughly.
Touch up walls, paint, and minor imperfections.
Ensure outdoor spaces, including landscaping, are well-maintained.
Pay attention to details like light switch covers, doorknobs, and baseboards.
For commercial properties, ensure signage is clean and visible.
5. Coordinating Your Architectural Photo Shoot: Working with Key Stakeholders
A seamless shoot requires collaboration between all parties involved, ensuring that the space is accessible and properly set up.
Who to inform:
Building managers or property owners for necessary permissions.
Interior designers or stylists for optimal staging.
Marketing teams to align with branding requirements.
Tenants or occupants about the photo shoot schedule.
6. Optimizing Lighting: Natural and Artificial Light
Light can transform a space, highlighting textures, colors, and depth.
What to do:
Open curtains and blinds to allow natural light in.
Adjust artificial lighting to avoid harsh shadows.
Turn on all interior lights for a warm and inviting ambiance.
Consider using supplemental lighting if needed (discuss with your photographer).
7. Preparing Exterior Spaces
If your project includes exterior photography, ensure the surroundings are clean and visually appealing.
What to do:
Clear driveways, sidewalks, and parking areas of debris.
Ensure landscaping is neat and well-groomed.
Turn on outdoor lighting for twilight shots.
Remove any visible trash cans or other unsightly items.
Consider seasonal factors and plan accordingly (e.g., snow removal, leaf cleanup).
8. Communicating with Your Architectural Photographer: Key to a Successful Shoot
Collaboration with your photographer is key to a successful shoot. Provide as much information as possible to help them plan the session effectively.
What to discuss:
Preferred angles and compositions.
Special features or design elements to emphasize.
Any scheduling constraints or access limitations.
Desired deliverables such as a number of photos, aspect ratio, etc.
Conclusion: Setting the Stage for Stunning Architectural Photography
A well-prepared space ensures that your architectural photography session runs smoothly and produces high-quality, impactful images. By focusing on cleanliness, staging, lighting, and clear communication with your architectural photographer, you can maximize the visual appeal of your project.
Ready to schedule your architectural photo shoot? Contact me today to discuss how we can capture your project at its best!
